How to Add a Vector GIF to Your Application
Several months ago, a friend of mine asked me to explain how I got cute mushroom GIFs with a transparent background on one of my React apps. The process was easy, so I thought I’d explain.
Choose Your GIF
Head on over to your favorite GIF website, and choose a GIF with a solid background. I highly recommend choosing one with a white background—that seems to work best. Also, go for something that would be easy to outline the positive space and carve out the negative space. For demo purposes, let’s choose a GIF from giphy.com.
Make It Into a Vector GIF
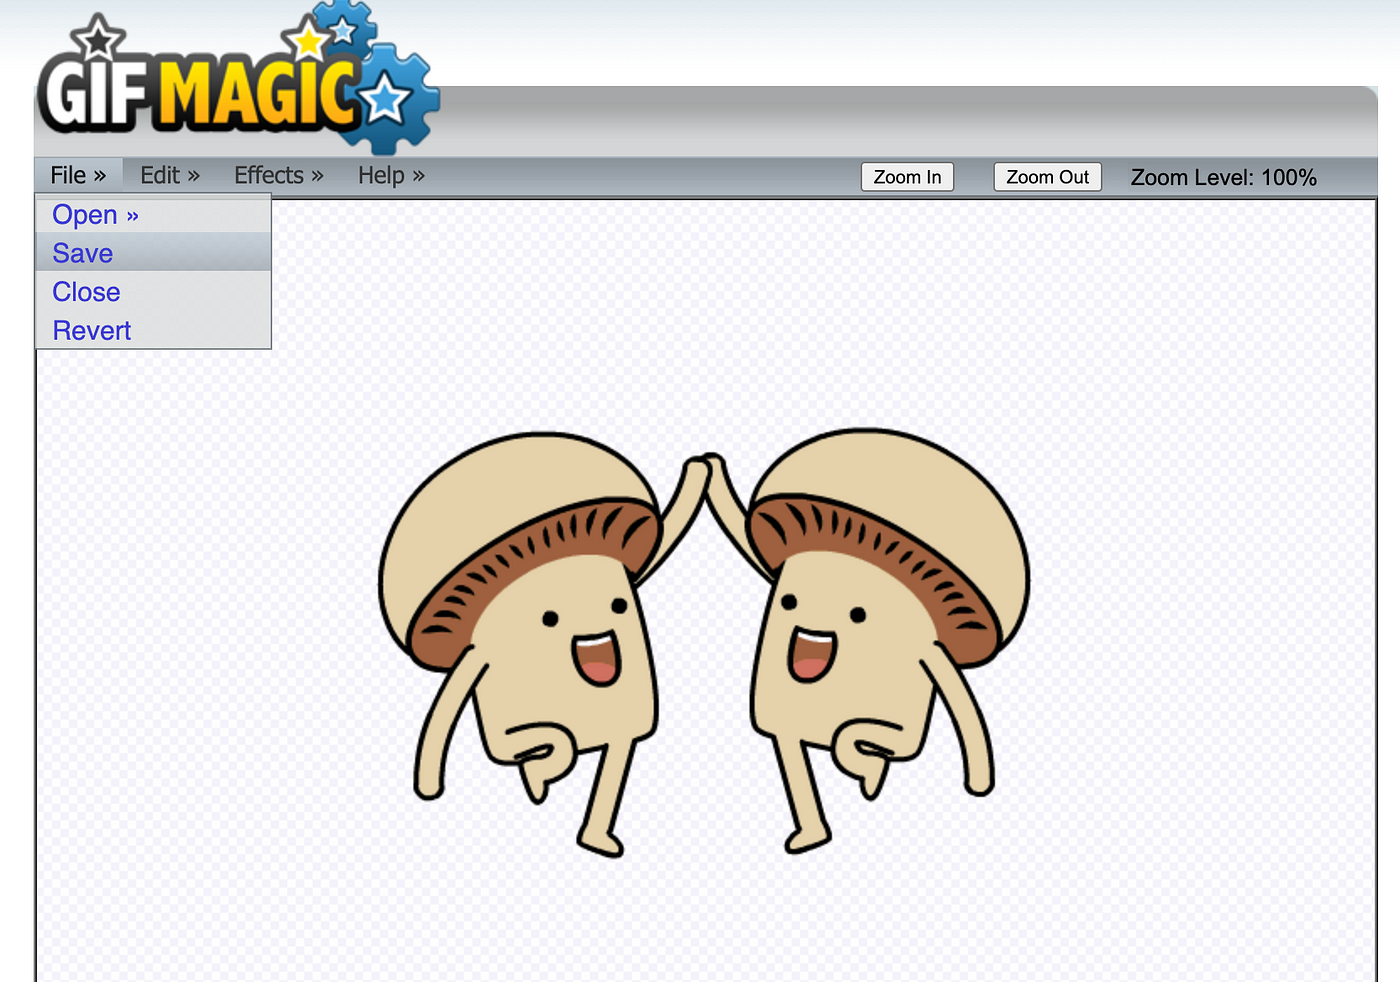
Luckily, there are lots of free websites that help you edit or convert your GIFs. Not all of them work, but this one worked for me: gifmagic.com. After you upload your GIF file, you’ll be taken to a page like below. To convert it into a vector GIF, go to Edit > Transparency > Add.

Click on the white space. Then, save your new vector GIF.
Add It to Your Program
Now is the fun part. Drag and drop your .gif file into an “images” folder in your app. (In my case, it was a React app.) Then, in the component of your choice, render the image using the following:
<img src={require("../images/high-five.gif")} alt="listen" className='high-five' />Notice the path goes to your images folder first, then your high-five GIF. You can use CSS to position it on the page however you want. The result should be: